|
|
|
Notification System - Recipients and Devices
The tab Recipients and Devices
This tab lists all K2 users who are tied to acontact person. Contact person For each user, we can set the device to which notifications will be sent.
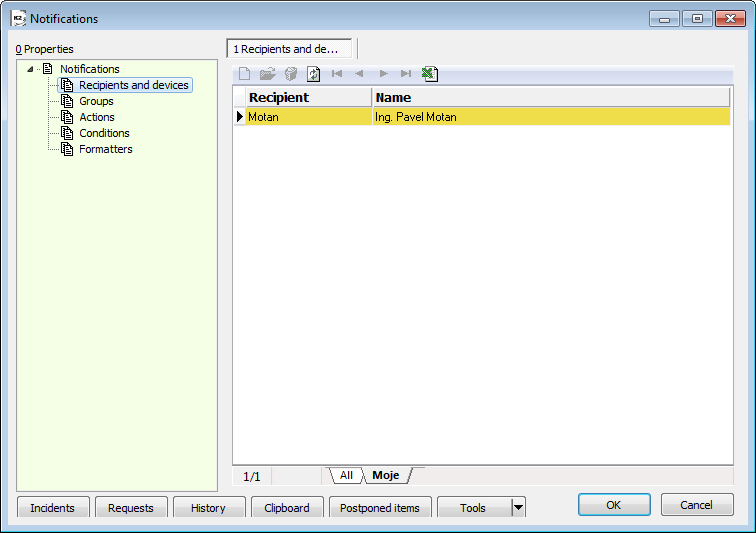
Picture: The K2 Notification System form - Recipients and Devices tab
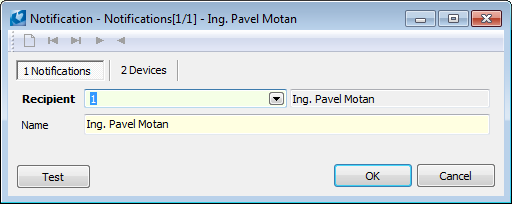
The form for individual recipients setting will be displayed after opening an item.
The tab Notifications
Picture: The form for a recipient settings - the Devices tab
Field Description:
Recipient |
Drop-down box to select a notification recipient from the Contact Persons book. A contact person number will be displayed in the field. |
Name |
A first name and a surname of a contact person selected in the Recipient field is automatically filled into this field. |
By pressing the TEST button you can verify whether the setting is correct. A test message is sent from an email (from the From address field on the Notifications tab) on a device that you have set for the receiving notifications.
The tab Devices
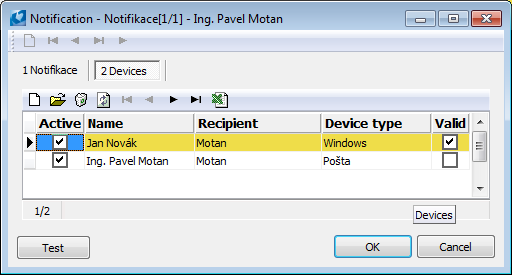
Picture: The form for a recipient settings - the Devices tab
The form for setting the device of the given recipient will be displayed after opening an item.
Description of common fields for all devices types:
Name |
Here define a name of a device. (Name of a recipient from the first page of the form will be automatically filled in.) |
Device type |
Device type - supported: Windows, Email, Android, Windows Phone. |
Formatter fields |
It is pre-filled according to the device type. These fields are automatically offered for the setting a message format in the Formatter. |
Active |
A checkbox to determine whether the receiving of notification should be active on this device. |
Valid |
The field is automatically checked, if a configuration of the given device is correct. |
Windows device type
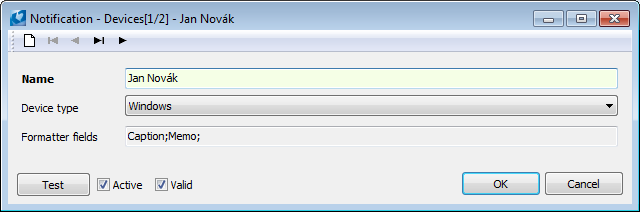
Picture: The form for the device settings - the Windows type
Email device type
Data in the form can not be edited, they serve to browse only. The necessary data are set inthe Contact Persons book (details are described below), which will be reflected in this form.
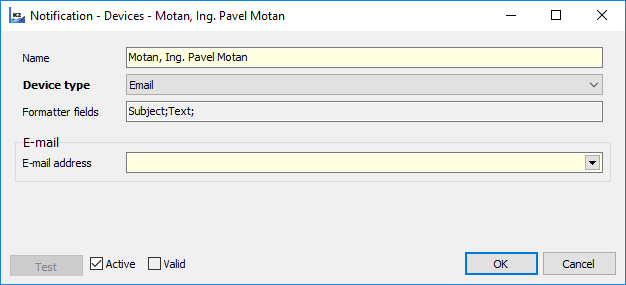
Picture: Form with The form with the device settings - the Email type
Field Description:
E-mail address |
E-mail to receive notification. E-mail is set on the 1st page of a contact person. |
An e-mail, on which notifications will be received, is defined on the 1stpage of a Change contact person Electronic address from If this part of the from is hidden, you can activate it by pressing El. Add. button.
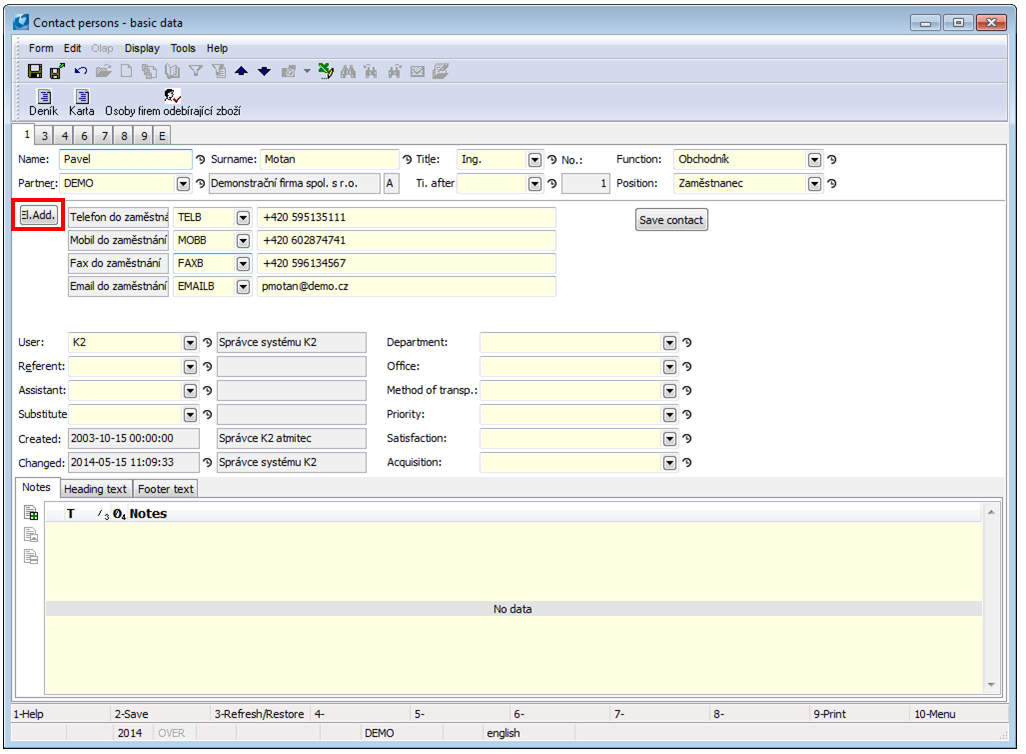
Picture: 1. The 1stpage of a contact person - El. Add. button
In the Electronic address part of the form you can insert a new e-mail by using Insert key in Change mode.

Picture: Contact persons - Electronic address
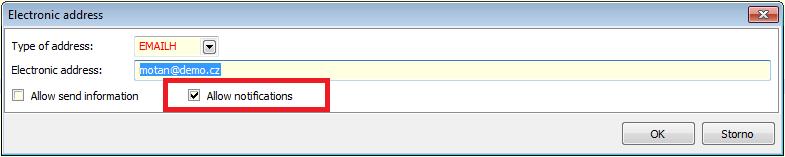
Picture: E-mail settings - Allow notifications field
Expand the Address type field in the Electronic Address form and select a value from the code list (e.g. "EMAIL", "EMAIL1", "EMAILH").
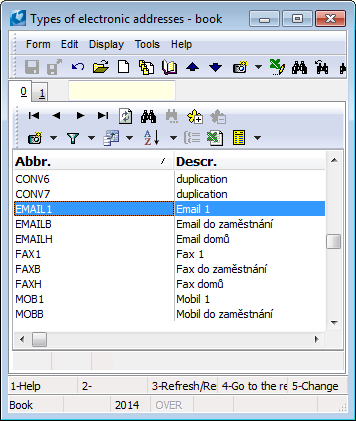
Picture: The Types of Electronic addresses form
On 1 st Page of the selected value "Email" must be filled in the Format field. This makes the Allow notifications field accessible on the Electronic Address form (in red box on the picture "Pict.: E-mail settings - Allow notifications field"). This field must be checked for the correct functioning of notifications with the E-mail device type!
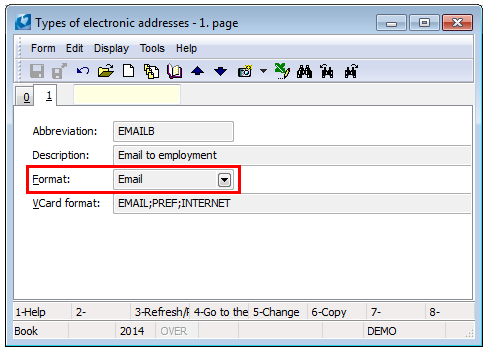
Picture: Type of Electronic Address - Format "email"
After the correct setting, an e-mail will be filled into the form of notifications settings for the Email device type.
Picture: Form with The form with the device settings - the Email type
Android device type
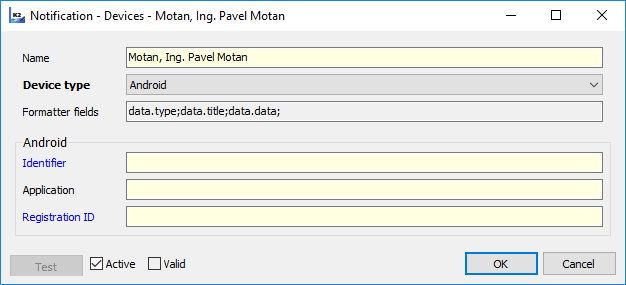
Picture: The form for the device settings - the Android type
Field Description:
Identifier |
Unique phone number (IMEI). |
Application |
The application name, e.g. "K2 Marketing". |
Registration ID |
Each phone gets a Registration ID from the Google when registering to notifications. The Google can change Registration number for the given device once in a while. If a device is not registered again, it stops sending notifications. (It executes the device database clean-up from once in a while.) |
The fields are automatically entered by the K2 Android client after registration atthe Google. The registration process is stated in the Establishing the Firebase service chapter.
Window Phone device type
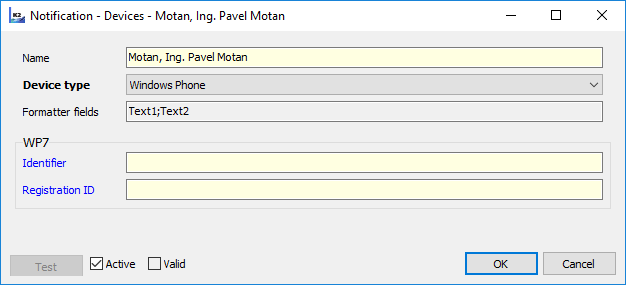
Picture: The form for the device settings - the Windows Phone type
Field Description:
Identifier |
Unique phone number (IMEI). |
Registration ID |
The number is assigned on the request at the Microsoft. |
The fields are automatically entered by the Windows Phone after registration at the Microsoft.
iOS device type
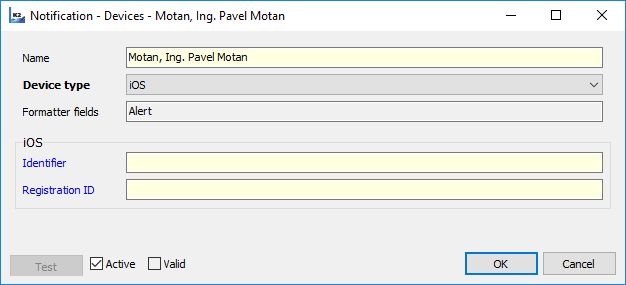
Picture: Form for a device settings - the iOS type
Field Description:
Identifier |
Unique phone number (IMEI). |
Registration ID |
The number is assigned after registration at the Apple. |
The fields are automatically entered by the iOS client after registration at the Apple.
|
|
|
Establishing the Firebase service
Within your account at the Google company, you have to activate the Firebase service, if you want to use notifications. You can set up this service for a specific account at https://firebase.google.com/. The condition is that the account in which we want to set up the Firebase service must be logged in the web browser.
The process of establishing the Firebase service runs in the console, which you can access using the Go to Console button, or by typing https://console.firebase.google.com/ into your web browser. Then, you can create a new project by using Add project button here.
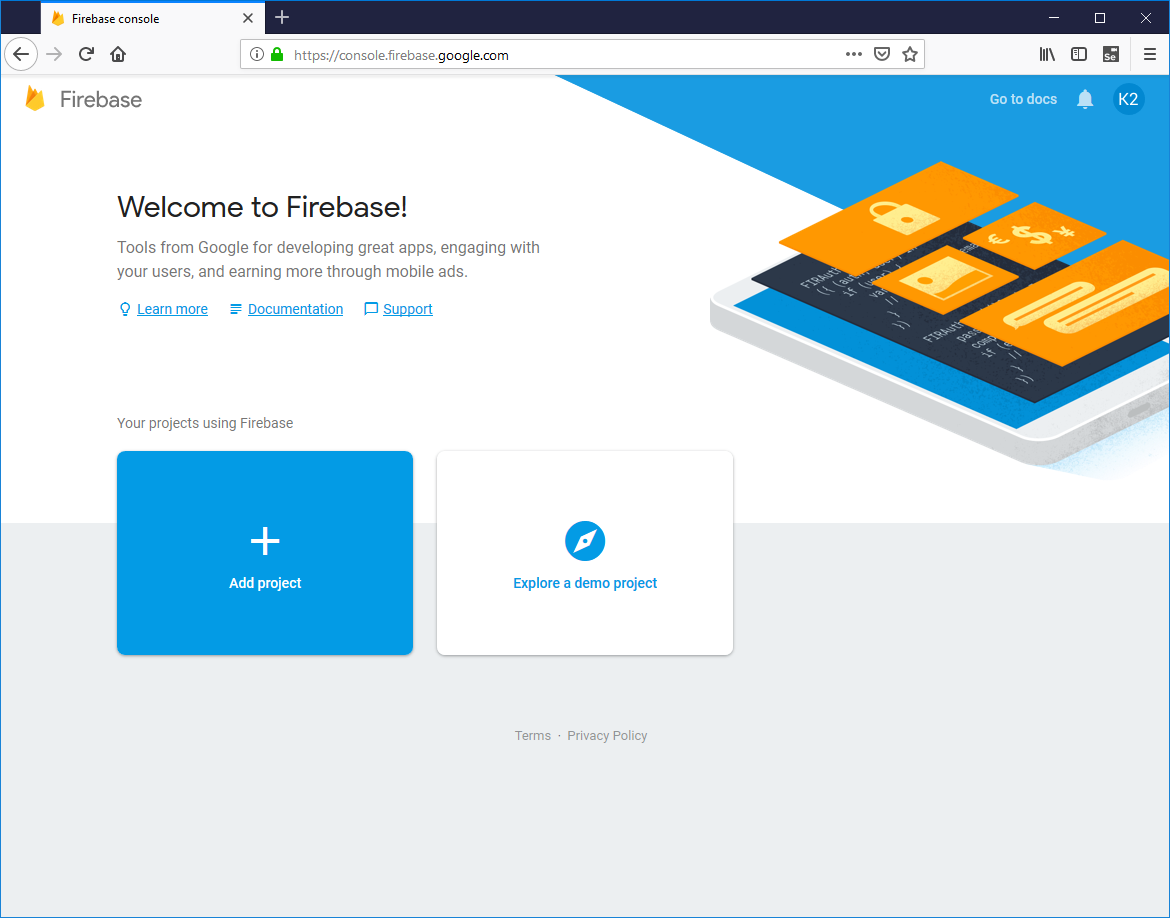
Picture: Adding a new project
In the next window you have to enter the project name in the Project name field, set the location in the Analytics location field to Czechia and further agree to the license terms by checking the appropriate field.
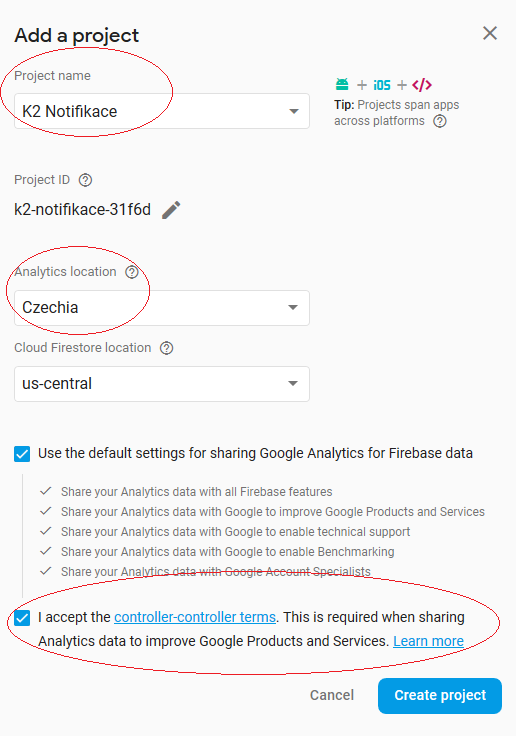
Picture: Creating Firebase project
Press the Create project button to confirm the settings and create a Firebase project. The following dialog box informs you of the successful installation.
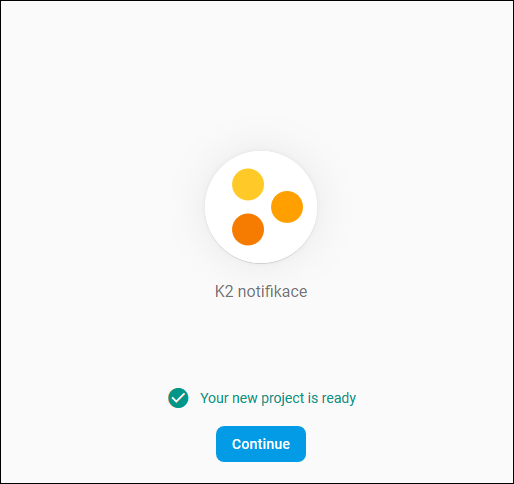
Picture: Creating Firebase project
On this screen, you can confirm the creation of a new project by using the Continue button.