|
|
|
Notifications
|
|
|
Notification System
Notifications are used to alert to a specific event (e.g. document confirmation, document payment or incoming call).
Notifications (= notices) are run either from the tree menu My office - Notifications, or by using the button from the navigation panel (it is a reflection of notifications from the notification panel), or by using the button in the notification panel (a red box) and by selecting the Notification settings option.
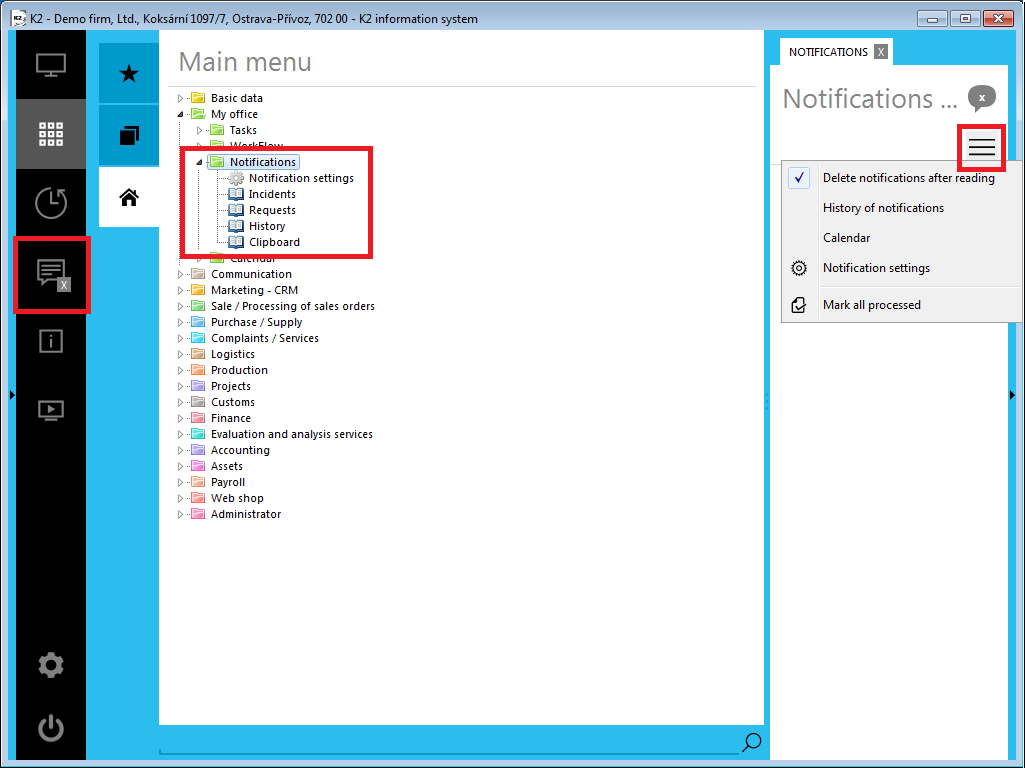
Picture: Main desktop - Notifications
If the Notification panel is hidden, it can be activated by pressing the black arrow in the right edge of the desktop.
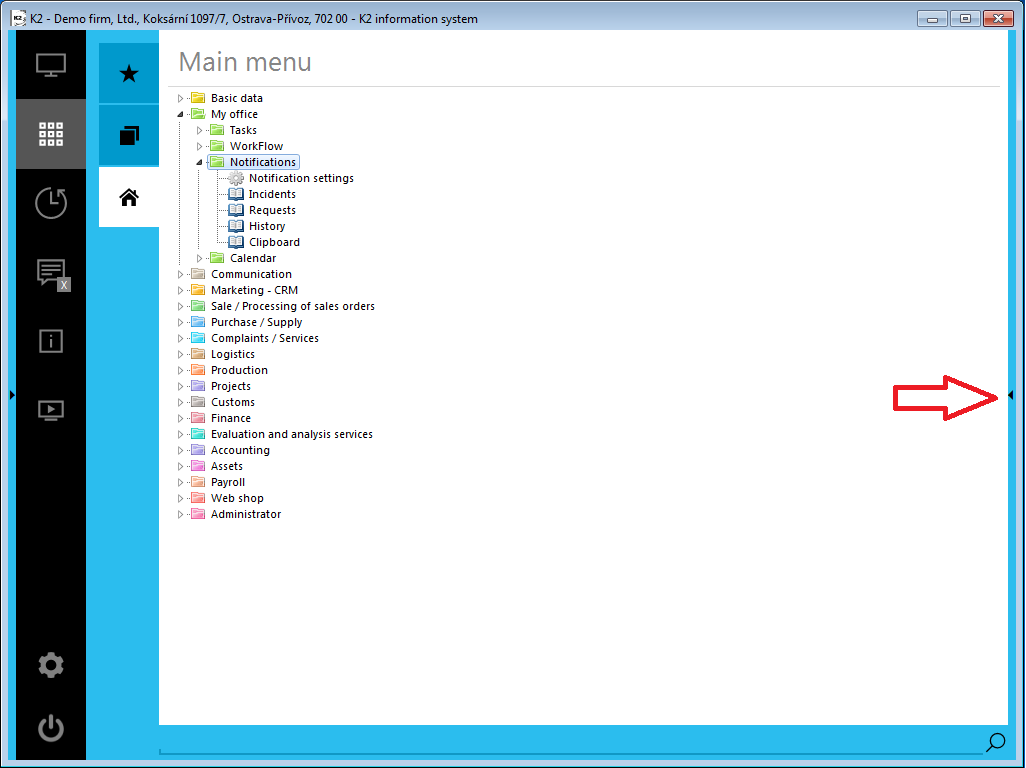
Picture: Main desktop - display notification panel
The form with the predefined recipient of notification appears after pressing the Notification settings function.
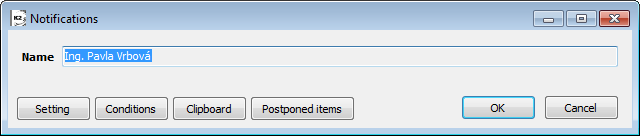
Picture: The Notifications form
The form for setting a Recipient and a Device, the notification will be sent to, will be opened after pressing the Settings button. For the further description see the Notification System - Recipients and devices chapter (Picture: The form for recipient settings - the Notifications tab and picture: The form for recipient settings - the Devices tab).
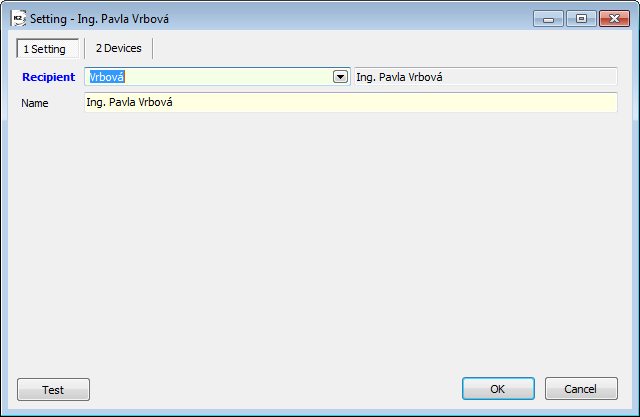
Picture: Recipient settings
The form for setting the conditions of notifications will be displayed after pressing the Conditions button, see the Notification system - Conditions chapter.
The Clipboard form, where all unprocessed notifications are placed, will be displayed after pressing the Clipboard button. It is a reflection of notifications that are displayed in the right column of a desktop. The processed notification will be removed from a clipboard.
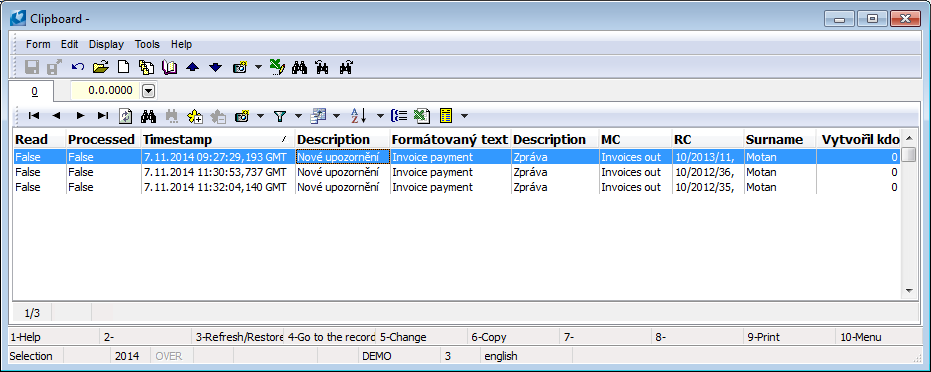
Picture: The form with the received notifications
In the Clipboard, you can switch to the card of the given record by using Ctrl+Enter keys. Record will be opened in a new tab in the middle column of a desktop.
There are hot keys for changing a record status in the status bar of this book: F8 - Processed Y/N, Shift+F8 - Read Y/N. Y/N means "Yes"/"No". For individual records, depending on the used keys, a value in Read or Processed columns is changed to "Yes" or "No". Another function available in the Clipboard is Ctrl+F8 - Process All. This function marks all the messages in the currently logged on user's clipboard as processed.
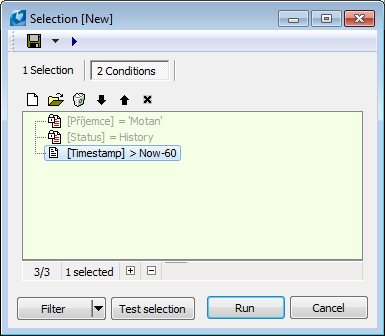
Under the Postponed items button, we will find a list of notifications that will be sent on the specific date in the future. This function can be set for Maturity of invoice and New Task actions.
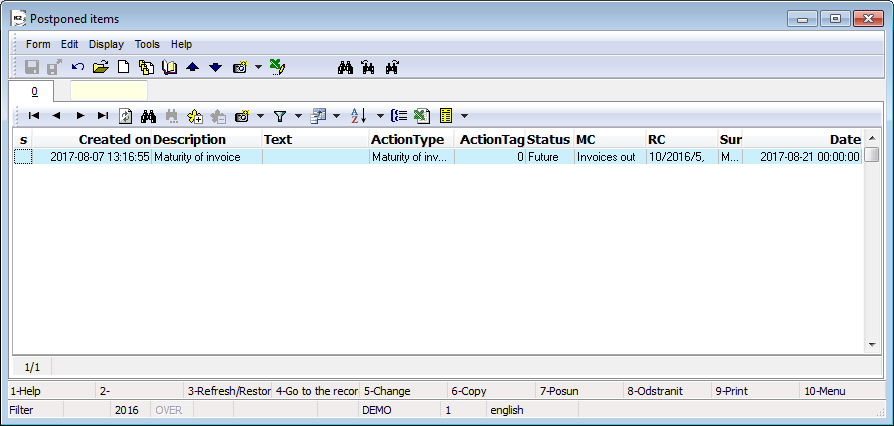
Picture: The Postponed items book
Example: We want to set a notification for the due date of invoice out on 25/10/2013.
Create an invoice out, the due date of which is "25/10/2013".
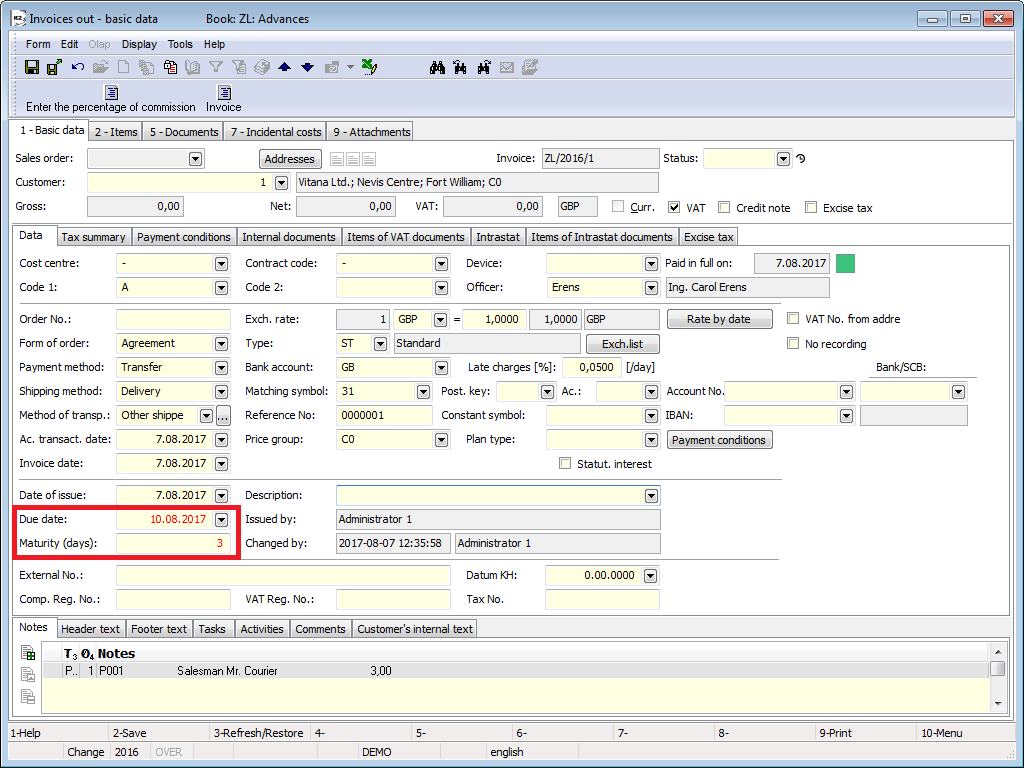
Picture: Invoice Out - Due day "25/10/2013"
Set a notification for the Maturity of invoice action by pressing the right mouse button in the Due date field.
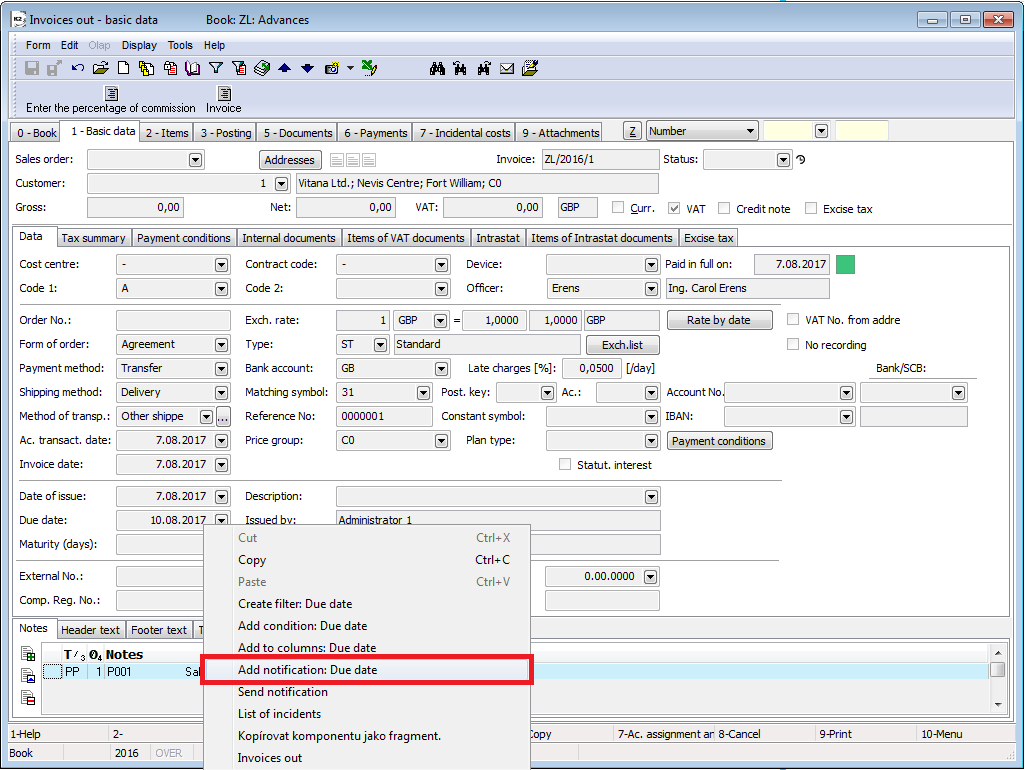
Picture: Invoice Out - condition settings
The form to set a condition will appear. Enter Maturity of invoice into the Action field. The Invoice Out data module is filled in automatically. Enter a recipient on the 2nd page of the form.
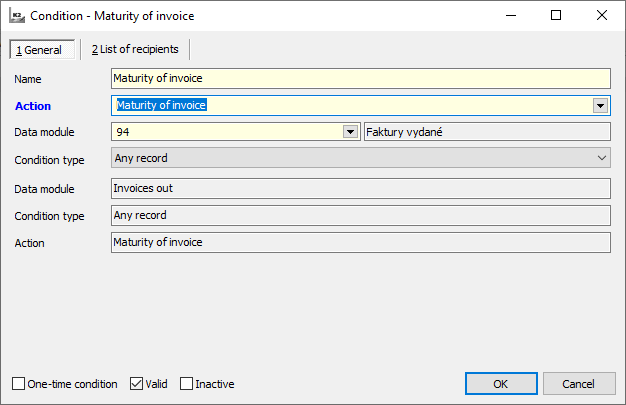
Picture: The form to set the condition for the maturity of invoice
After saving this condition, the notification for this action will appear in the Postponed items book.
If we do not pay the invoice by the due date, we will be notified of this fact in the notification panel on the due date.
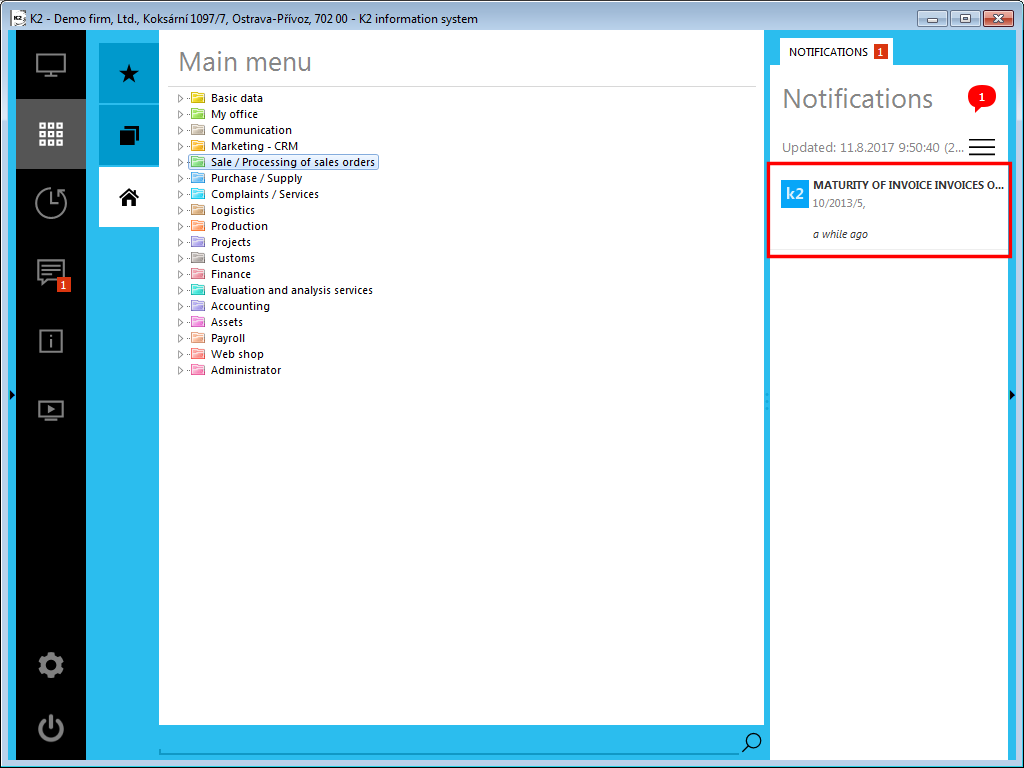
Picture: Notification for maturity of invoice out
At the same time, the alert appears in the calendar, tinged with orange colour, and it moves from the Postponed items book to the Clipboard book.
If the invoice will be paid before the due date, a notification will disappear from the Postponed items book and the notification on this action does not come.
The following form will appear to administrators only
(They are authorised on the Administrator - Access to setting level - Configure notifications.)
The Notifications form will be opened after running the Notification settings function. The parameters for sending requests are set here. Notifications are activated by the Active check box. If the notifications were inactive and they have been activated by this check box, it is necessary to restart K2. This also will restart the application server through which notifications will be sent. If it is not possible to check this field, then a license on the notification server is missing you. You can also make certain of it in the Administrator - System - Licence administration menu, the Licence administration tab in the Notification server field. If the field is checked, you own the license for a notification server.
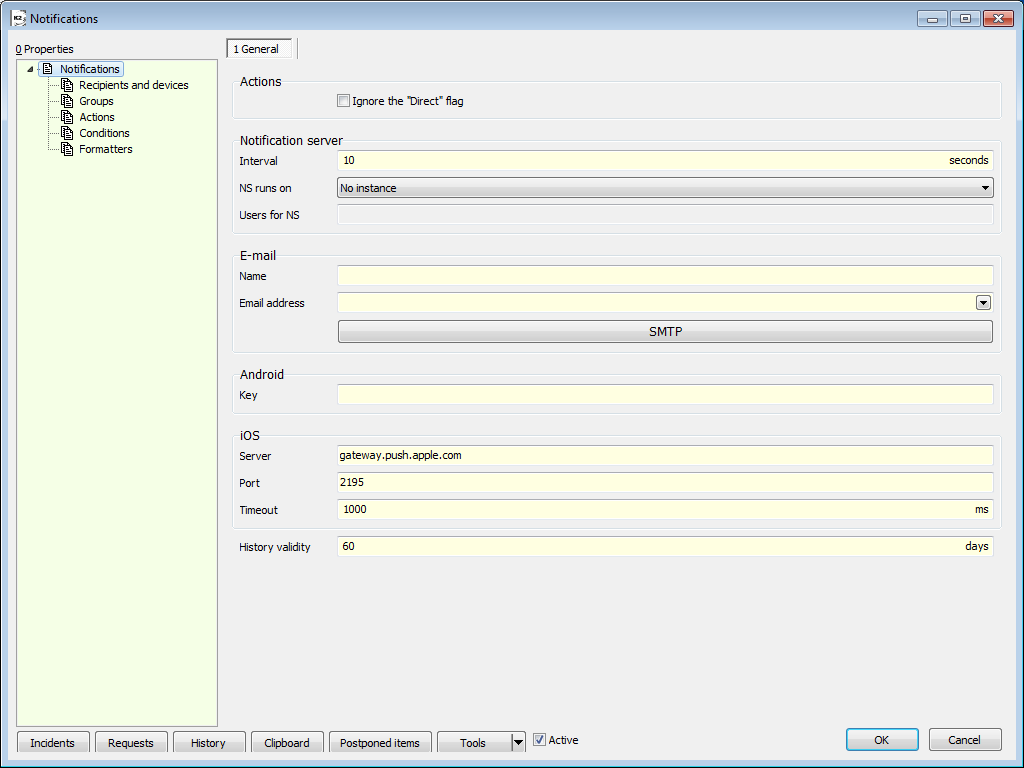
Picture: The Notifications form
The tab Notifications
Fields' description:
Action |
|
Ignore the "Direct" flag |
Option to enable or disable direct notifications. By default, the field value is set to False = send direct notifications. If the field is checked (= do not send direct notifications), all direct notifications are turned off. Notifications from this actions will be delivered only in the case, that a condition, which the incident will be suited, will exist. For the correct condition's settings, it is necessary for the most of direct notifications to enter a recipient from the data field. The further description is stated in the Notification System - Conditions chapter. |
Notification Server |
|
Interval |
The field to specify an interval, how often the notification system shall check the requirements. The ready-to-process requests will then be sent at the specified interval. |
NS runs on |
It means an instance on which the notification system runs. It proceeds from the setting of the Users for NS field. If the user, who is inserted in the field bellow, is logged into the K2, then "This Instance" text is displayed in the NS runs on field. If the user is different, then the "Other instance" text is displayed. |
Users for NS |
A list of users who can log into this instance. They are set into the K2.ini file by means of the "NSUSERS" parameter (e.g. NSUSERS=K2;DEMO). |
|
|
From address |
Email address from which notifications will be sent. |
SMTP |
The button opens the form where parameters for sending emails are defined. |
Android |
|
Key |
Key to the Google Cloud Messaging Service |
Firebase |
|
Auth Key |
In this field, enter the authorization key for the Firebase service, the so-called Server key. This key can be found in the console for the establishment of Firebase services. The further description is stated in the Establishing the Firebase Service chapter. |
iOS |
|
Server |
Address on Apple Push Notification Service. This address is pre-set and is not changed. |
Port |
Port is also pre-set. |
Timeout |
If a connection to the server is not be successful during this period, the K2 system will report an error. |
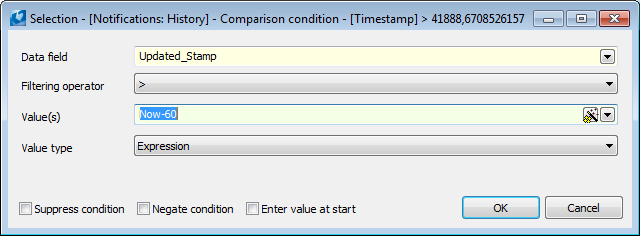
History validity |
Number of days, that the history of notifications will be stored. It will be displayed after pressing the History button. The History book with the saved records will be opened. It is also possible to set the number of days of the history validity here in the predefined filter. The form with a definition of filter conditions will be opened after running the filter. Open a condition for an interval setting and change a time interval in the History field.
|
Active |
Option to enable or disable notifications. If the field is checked, notification sending is active. |
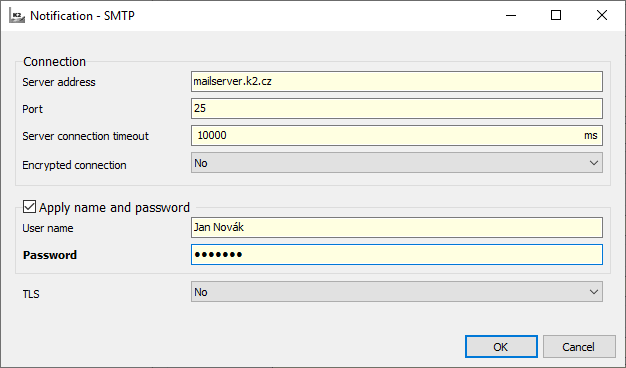
Picture: The form for SMTP setting
K2 Notification System - SMTP
Connection |
|
Server address |
SMTP address of the server for sending mails. |
Port |
Port. |
Server connection timeout |
If a connection to the server is not be successful during this period, the K2 system will report an error. |
Encrypted connection |
Option to choose an encrypted connection. By selecting "SSL" you will ensure that the third party will not connect to the server. For a protection, it is necessary to load "libeay32.dll" and "ssleay32.dll" files. |
Apply name and password |
Choose whether to use a user name and password for the connection. |
User name |
The name of the user who will be notified of the notifications. |
Password |
A password to log into an e-mail. |
The tab Notifications
Buttons Description:
Incidents |
The list of all records that have not been processed by the server and therefore they have not arrived to K2 or to the other device yet. |
Requests |
After processing the notifications by the notification server, notifications are moved from the Incidents form into the Requests form - the sending of Notifications to the individual recipients to particular devices is executed here. |
History |
History of all processed notifications. |
Clipboard |
There are all unprocessed notifications in Clipboard. It is a reflection of notifications, which are displayed in the notifications panel. The processed notification disappears from the clipboard and moves to History. |
Postponed items |
There are future notifications, which will only come to the notifications panel, in this book. |
Check |
It verifies a validity of the created notification conditions. If the program finds an incorrectly set condition, it displays a report with this condition. If the conditions are correct, the program displays the message: "No problems were found". It also verifies the linking of users with the contact person. All users who are not linked with a contact person are stated in the log = notifications can not be delivered to these users. |
DB: verification |
The reinstallation on a higher version of K2 system may result in data inconsistencies and incorrect behaviour of notifications. Especially, it may be a re-sending of incidents that have not been processed before reinstallation. Some invalid records (e.g. containing question marks) may be appeared in the History, Clipboard, Incidents and Requests books. In this case it is recommended to run the DB: verification action, which corrects the data. |
In the History book, there are the same functions (F8, Shift+F8) as in the Clipboard book, see the description above. If the user does not have no permission to view the record, event. the right Configure notifications, he/she will see asterisks in some columns of the History books.
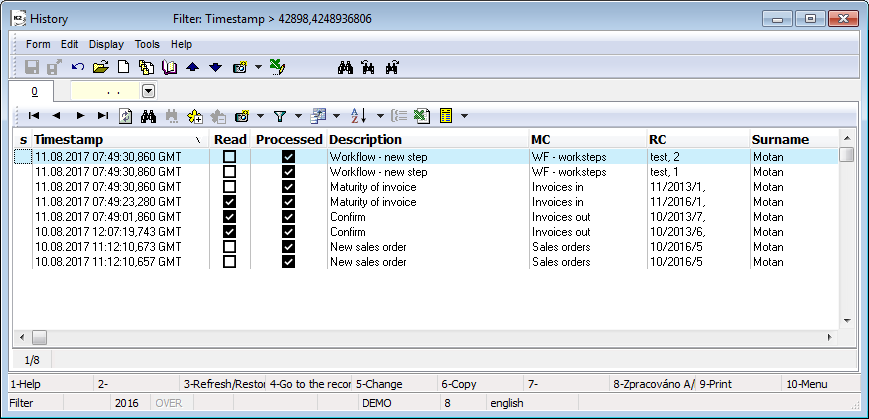
Picture: The form with processed notifications - user with permission
Picture: The form with processed notifications - user without permission to browse Invoices In and without the right Configure notifications